Spin up Sitecore 9 Today

Sitecore 9 has been just released recently and one of the biggest changes is that Lucence is no longer the default search index provider. Sitecore 9 still supports Solr, Lucene, and Azure search as providers. However, if you want to use a search index that work in both Analytics and contentSearch, Solr is the best option.
The article below is about to provide a step-by-step guideline, so that you can quickly spin up Sitecore 9 instance locally.
The prerequisites for Sitecore 9 includes SQL 2016, IIS 8.5+ and Solr etc. By default, Sitecore XP is secure, therefore it requires SSL enabled for Solr.
Let’s start with installing Solr with SSL enabled

Step one – Download and Install Solr
You can download from here. The Solr version is 6.6.2 (as there is a bug in Sitecore 6.6.1 as mentioned here).
Step two – generate trusted self signed certificate
Thanks to Kam Figy, who create an easy to use powershell script for automating the complete setup process of adding SSL to Solr with a self-signed certificate, and trusting that self-signed certificate. You can get the script here. Save the solrssl.ps1 onto your local. You can also find the official instruction for enabling SSL on Solr here.
In order to generate a self-signed certificate and a kay, keytool needs to be installed. If you have Java runtime environment installed, you can find the keytool under the bin folder of java installation folder.

Before you run the script, it’s assumed that you have the keytool utility on your PATH system environment variable. You should be see the successful message, once the certificate has been generated and added into CA.

Don’t forget to uncomment in bin/solr.in.cmd file, before restarting solr server.
SOLR_SSL_KEY_STORE=etc/solr-ssl.keystore.jks
SOLR_SSL_KEY_STORE_PASSWORD=secret
SOLR_SSL_TRUST_STORE=etc/solr-ssl.keystore.jks
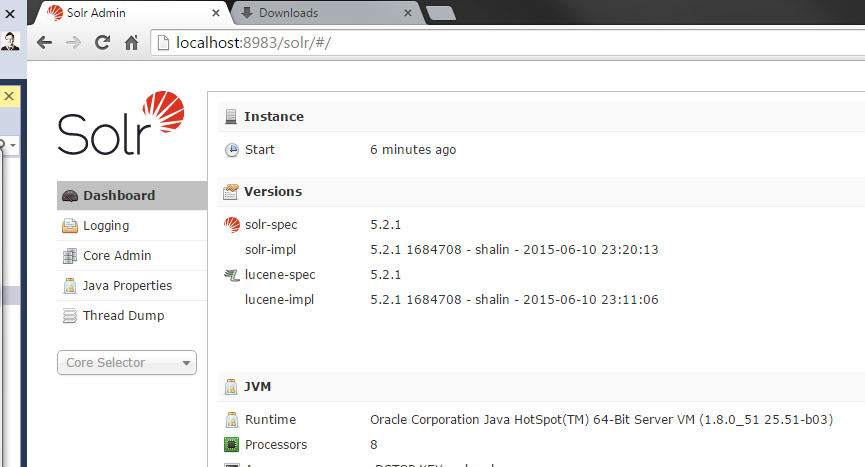
SOLR_SSL_TRUST_STORE_PASSWORD=secretAfter you restarted the Solr, you should be able to run Solr on HTTPs protocol as shown in the screenshot below.

Okay, let’s kick off installing Sitecore
Step one – download Sitecore 9 package
You can download the package here. The package used for this article is the XP single package - (Packages for XP single (XP) instance configuration. Sitecore 9.0.0 rev. 171002 (WDP XP0 packages).zip).
Unzip the package, there are three packages included in the zip.

Unzip the “XP0 Configuration files rev.171002.zip”, in which it contains the environment configuration files (XPo topologies).
- sitecore-solr.json
- xconnect-solr.json
- xconnect-createcert.json (for developer environments)
- sitecore-XP0.json
- xconnect-xp0.json
Step Two – Install Sitecore Install Framework
Sitecore provides the Sitecore installation framework module, a Microsoft PowerShell module that supports local and remote installations of Sitecore, and it’s fully extensible.
Once you installed the Sitecore Fundamentals and SitecoreInstallFramework module. You can then use the PowerShell script below for installing Sitecore (Thanks to the community who created the script, it's really handy).
After the script successfully run, you should be able to see:
- Databases

- Two sites

Congras! Your Sitecore 9 has been successfully installed.