0 Comments


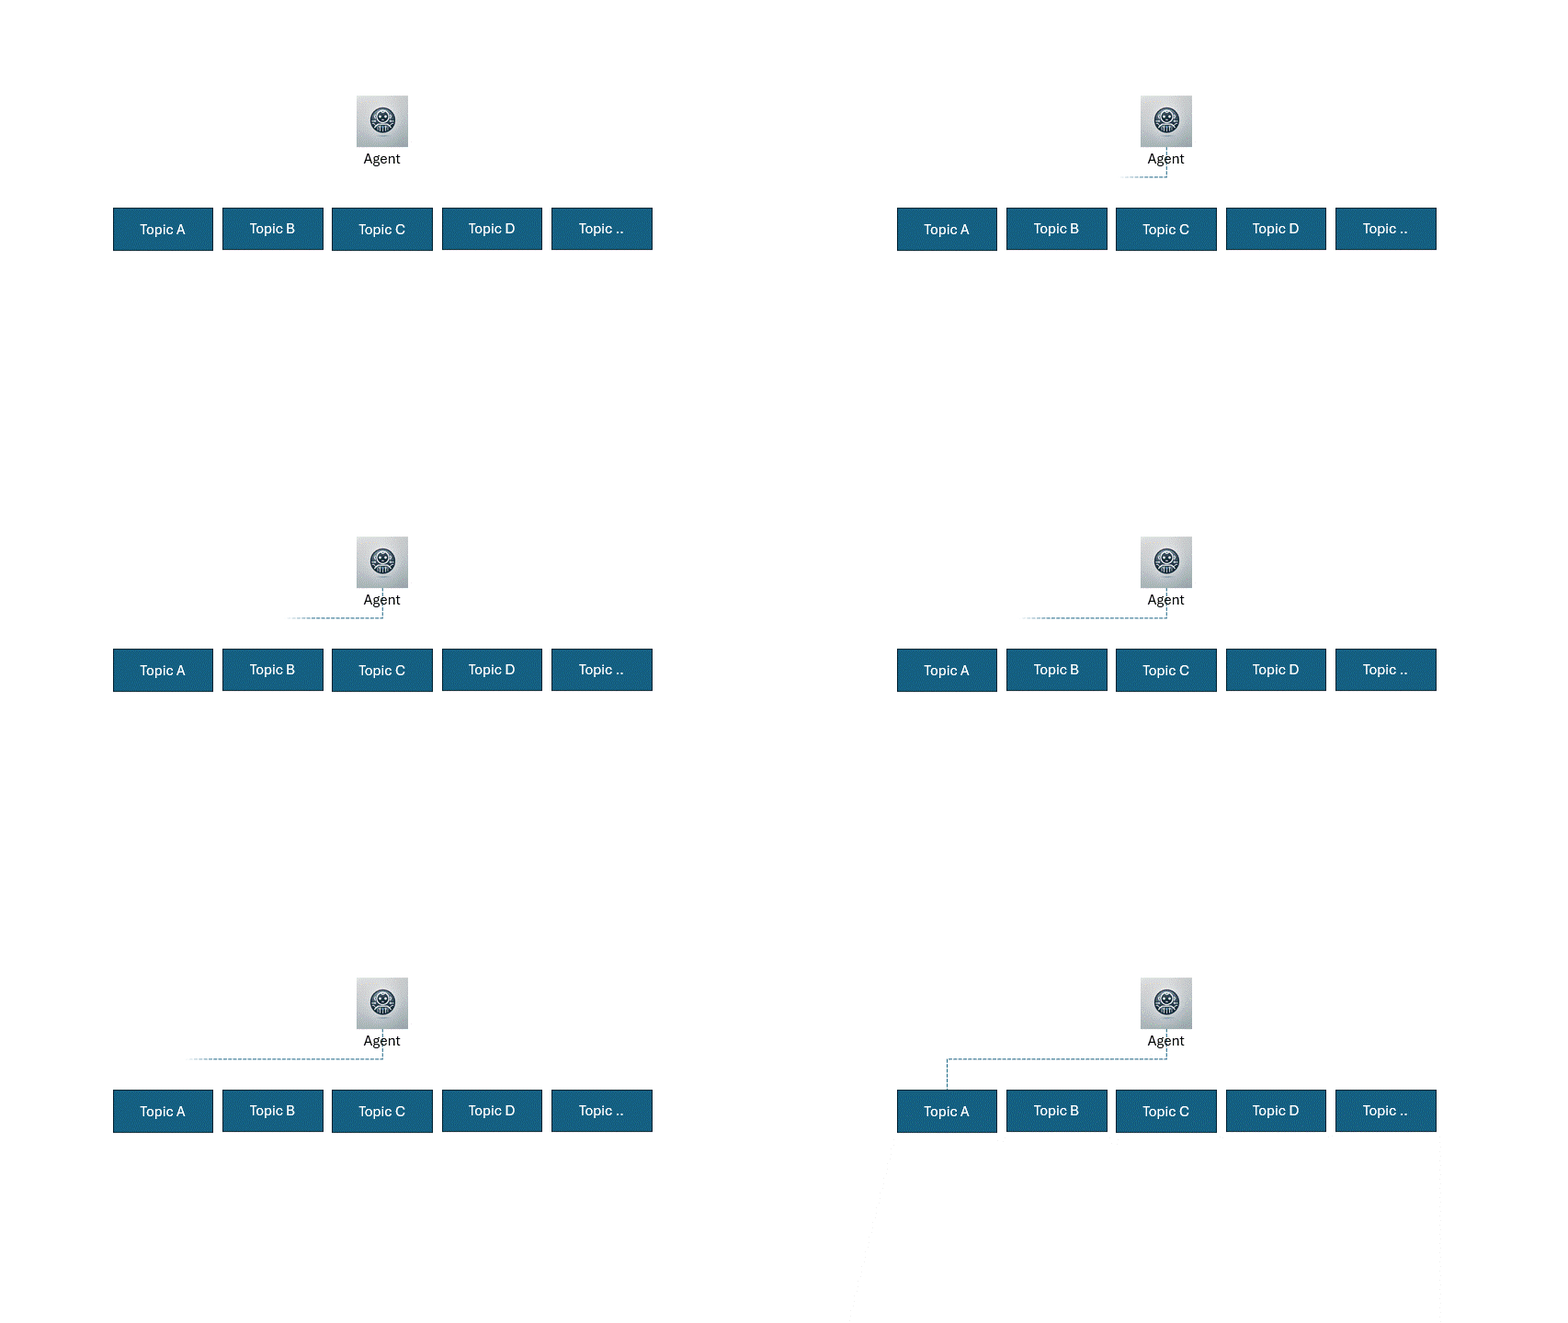
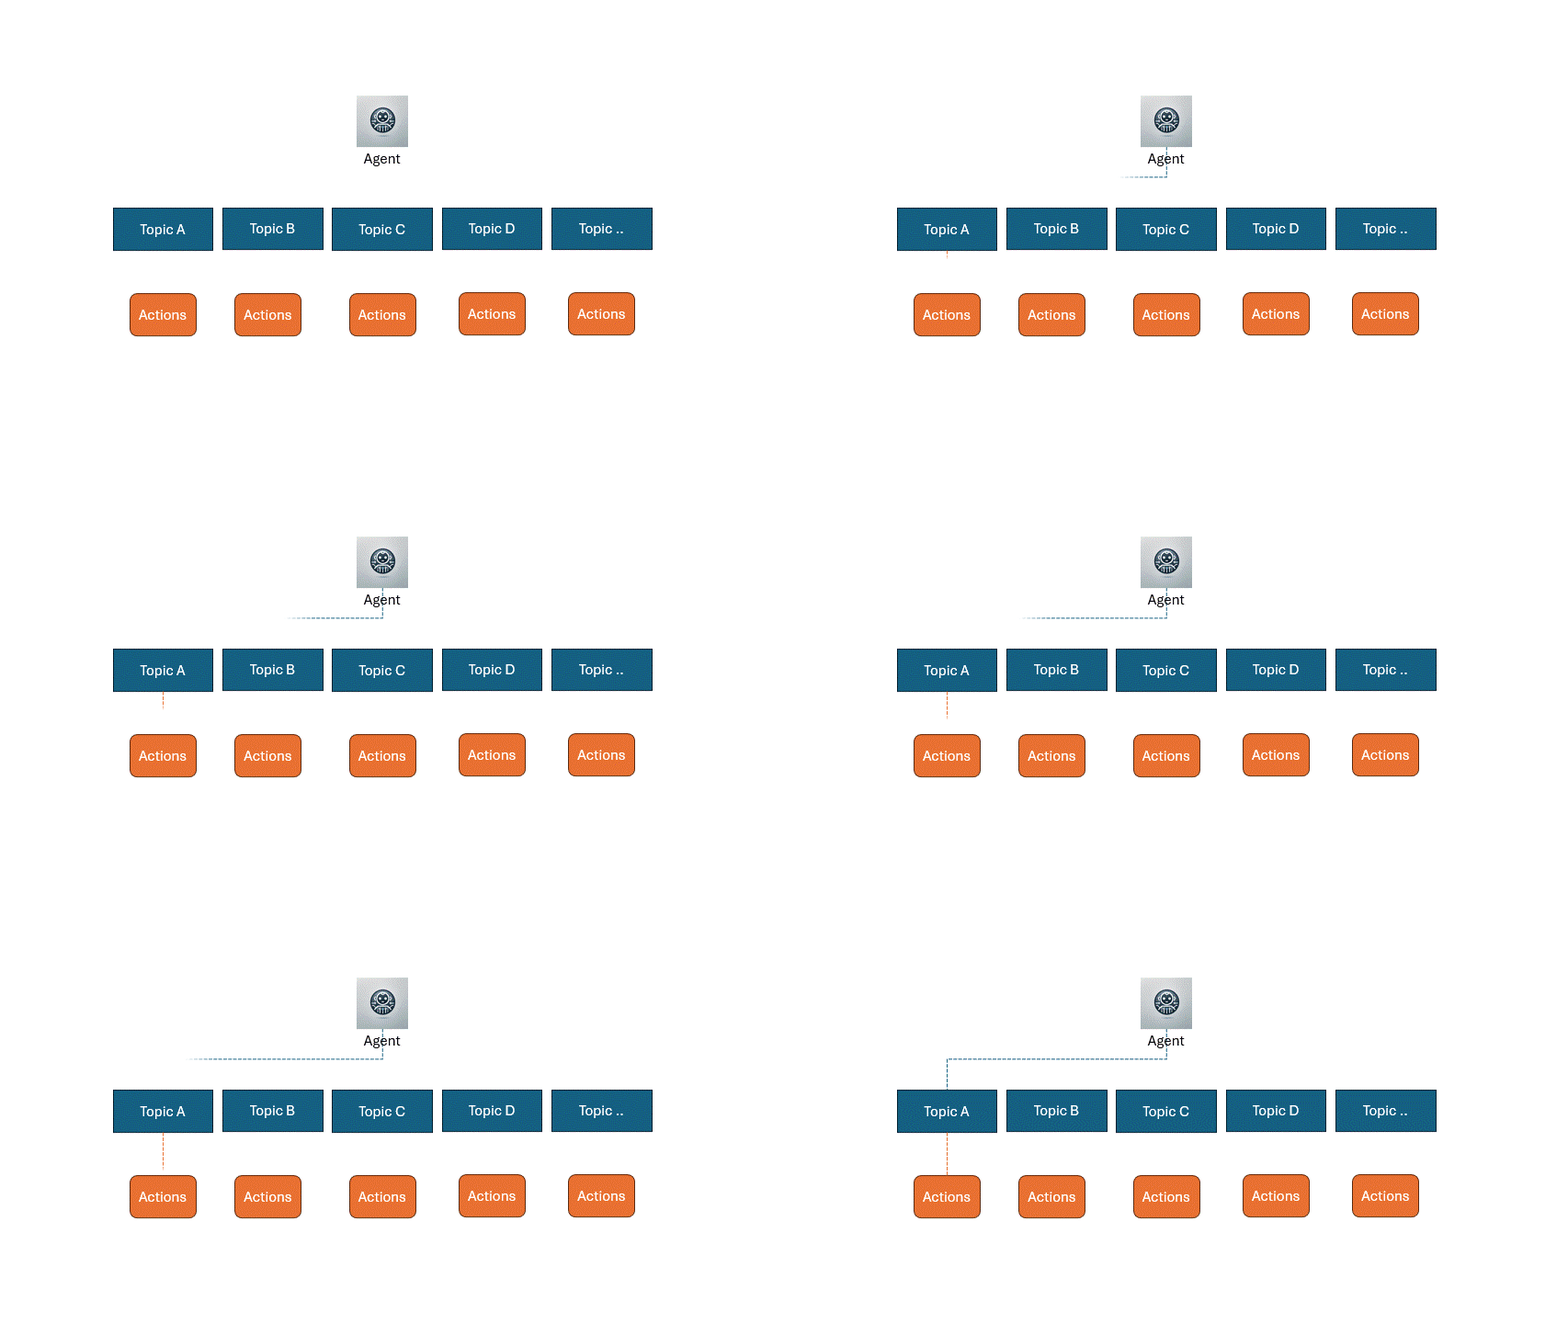
Diagram explaining the components of a conversation AI experience


Recently I’m building a bot for prototyping with Microsoft bot framework by integrating with new Azure cognitive services (cognitive service for language  & question answering). Frankly speaking, Microsoft bot framework is really easy to use and does not require steep learning curve.   Today, I would like to share some of my experiences of building a bot, so you can build yours more effectively.

In the following article, I’m going to explain the tools I used and how to you can use them during the building life cycle as shown below.


Design timeline of a bot

Design             Build                Test                  Publish           Connect           Evaluate


Design Phase    

Microsoft Whiteboard

Brainstorming the goal of the bot by asking below questions

  • why you need a bot?
  • what problem you are trying to resolve?
  • how to measure the success of your bot?
  • …etc.

Microsoft OneNote

Design a conversational flow for your chatbot and try to analyze an example chatbot flowchart.

image


Build Phase

Microsoft Visual Studio 2022

Microsoft bot framework supports both Node.js and c#. In my case, I’m using c#.  I would suggest to start getting familiar with the framework SDK. It is well documented with code examples.  In my case, I started project with echo bot, which is a very simple template. It helps you understand the events lifecycle in the bot, before starting to build the complicated business logic.

The Echobot template is a .net core project.  If you are familiar with c# code.  you will find the bot endpoint is an API controller.  By default,  the .net core application is running on IIS Express in which anonymous authentication is enabled.  That’s why when you are not providing the username and password in bot framework emulator, it will still work.

image


MS Teams dev Tool

Microsoft provides a great tool for designing and building dialog cards. you can drag and drop the element into the canvas which will automatically generate the json with styling data.

image


Azure Cognitive Service for Language

Azure cognitive service for language is a managed service to add high-quality natural language capabilities, from sentiment analysis and entity extraction to automated question answering. 

With Azure bot framework SDK, it makes easier to call the Cognitive Service. Here is an example in c#.

image

Azure Cognitive Service for Question Answering

Azure Question answering provides cloud-based Natural Language Processing (NLP) that allows you to create a natural conversational layer over your data.  It is used to find the most appropriate answer for any input from your custom knowledge base of information. Here is an example in c# with Azure bot framework SDK.

image


Test Phase

Bot Framework Emulator v4

Microsoft provides bot Framework Emulator so that you can test or debug your bot locally. For testing your bot in the Emulator, you only need to configure the endpoint.  In my case, it’s the default http://localhost:3897/api/messages. you can leave Microsoft API ID and Microsoft App password empty, if they are empty in you appsettings.json.

image

Once you completed, then click “save and connect”, you are ready to debug.

image


Publish Phase

Github

There are many tools you can use for your CI/CD process. i.e. Azure devOps.  In my case, I’m using Github.  I’m hosting my bot in Azure app service, in which it could natively connect with Github by a few configuration in deployment center.

image


In addition, it’s important to keep you credentials secure. DON’T put into appsettings.json, you should use github actions secrets instead.

image

On your local, you should leverage environment variable for appsettings.json.

image

Now, you are ready to deploy your bot into Azure.


Connect Phase

MS Teams

Azure bot supports different channels, Web chat, Microsoft Teams, Alex, Email, Facebook, Slack etc. The good news is that Microsoft have already done the hard job for you, so that you don’t need to worry about the message formatting from different channels.  It will automatically convert into the conversational json required by your message endpoint. All you need to do in just register your channel.  In my case, I have registered for MS Teams.

image


After you registered the Teams channel in azure, you will need to create a Teams App package (manifest.zip) for the bot. It will need to be uploaded and installed in Teams.


Ngrok

Another tool i’m using here is Ngrok for debugging remotely.  Ngrok secure tunnels allow you to instantly open access to remote systems without touching any of your network settings or opening any ports on your router.  You can find more details here for configuring ngrok.


Evaluate Phase

Azure Monitor Log Analytics

Enabling Azure logs for analyzing bot behavior with Kusto queries like below samples. there are more samples you can find here.

Number of users per specific period

Sample chart of number of users per period.

image

Activity per period

image

Power BI

Lastly, you can use Power BI  to build a dashboard.


Summary

Microsoft bot framework is a comprehensive framework for building enterprise-grade conversational AI experiences.  It makes easy to integrate with Azure Cognitive Services for creating a bot with the ability to speak, listen, understand, and learn.  It allows you to create an AI experience that can extend your brand and keep you in control of your own data.    Most importantly, Microsoft have already provided a full list of tools to smooth the process of your building experience. 

yay! here is my bot, his name is Eric.  Compose a bot today so as to boost your customers’ experience.

image

0 Comments

Running performance audits on a public-facing website is essential, in the past the audits was conducted manually. Recently, I have been asked to propose a solution for generating the Google Lighthouse report automatically. 


What is lighthouse?

Lighthouse is an open-source tool that analyzes web apps and web pages, collecting modern performance metrics and insights on developer best practices. you can find the repo here.

It mentioned in its document that you can run the report automatically with Node CLI.  Great start!  Yet,  I can run it on my machine, but how I share the reports with other people i.e. business as well as integrating with powerBI for reporting purpose?


After googling around, I didn’t find anything useful. so I decided to come up with my own solution. 


Proposed solution

Boom! here is the proposed solution.

Building the report on azure build agent, and publishing the report into blob storage. Simple right?!  With this approach, there is no dedicated node server required. In addition, storing report in blob can be simply shared with stakeholders and integrated with PowerBI. 

Brilliant, the completed architectural diagram as shown below. it’s a small implementation, but it still follows Well-Architected framework. 


image


Operationally Excellence

To trigger generating the reports via Azure devOps allows me to setup a scheduled pipeline.  it provides insight about when pipeline is being triggered and sent notification if it fails.  with code as infrastructure mindset, all code are managed in Azure git and deployed via CI/CD pipeline.


Security

Integrating with Azure AD for authentication, and using RBAC for segregating duties within the team for performing the jobs i.e. update pipeline, setup scheduling.


Reliability

Microsoft guarantee at least 99.9% availability for Azure devOps service and using self-hosted agent as failover plan for high availability.


Performance Efficiency

A single blob supports up to 500 requests per second. Since there will not have massively requests for my project, so I’m not worry about the performance at all.  Yet, if you want to tuning the performance for your project, you can always use CDN (content delivery network) to distribute operations on the blob. or you can even use block storage account, which provides a higher request rate, or IOPS.


Cost Optimization

Comparing with VM solution, I believe this solution deliver at scale with the lowest price. Storage only costs AUD $0.31 per GB.


Hopefully you like this solution or share your thoughts if you have better options. All comments/suggests are welcomed.

0 Comments

The challenge in the past is that every time you are developing a new webapp or bot which requires authentication you will go through all the steps i.e. creating service principle, grant permissions, set credentials, store credentials on resources, rotate credentials, and etc..   Now there is a better solution: Managed identities for Azure resources.


One of the examples where you can adopt the managed identities when you want to build an application using web application that accesses Azure blob storage without having to manage any credentials.


How to create

Managed identities is using service principle under the hook. Once you created the user assigned identity in Azure portal the same way as you creating other Azure resources,  you can now going to the target resources i..e blob storage and assign the permission i.e. contributor role to the user assigned identity you just created.   Now, last step is to go to the Azure resource where you want to access the target blob storage, i.e. azure function, and in Identity blade, you can add the user assigned identity that you just have created.


Below is the example demonstrates authenticating the BlobClient from the Azure.Storage.Blobs client library using the DefaultAzureCredential with a user assigned managed identity configured.

DefaultAzureCredential discovery mechanism allows you to run the code with your signed in account when you are using the code locally and automatically switching to use the user assigned identity when the code is deployed in azure. Please be noted that your local account will require to have the same permission as the user assigned identity in Azure.

Managed identities for Azure resources provide Azure services with an automatically managed identity in Azure Active Directory. Using a managed identity, you can authenticate to any service that supports Azure AD authentication without managing credentials. You can find the list of available services here.

0 Comments

image

Sitecore marketing automation provides a way to create automated online campaigns in Sitecore. A marketing automation campaign is a plan that allows you to determine how to interact with contacts based on their interaction behavior with the website. 

The marketing automation is powerful, yet there are some challenges as stated below when you want to leverage for supporting the business.   This article is to share my experience how to extend Sitecore marketing automation to fit your business goals and overcome these challenges.   


Challenges

Only support MVC applications, unless you purchase JSS license

With the out-of-box Sitecore marketing automation, it supports MVC application natively. However, you may want to leverage marketing automation with your single page app (SPAs)i.e. ReactJS, Angular applications etc. via APIs.


Tracking specific user behaviours

In addition, the out-of-the-box supports events like page view events , what if you want to track specific user actions i.e. tracking whom make quote on your website.


Business requirements

Before discussing the solution, let’s have a look what business wants to achieve.

One day morning, business came to me and ask if there is anyway we can get our customers more engaged than ever before? like sending them a reminder when they made a quote on our website.


Technical requirements

Engagement plan

Based on the business requirements, the first thing on top of my head is Sitecore marketing automation engagement plan. Someone makes a quote can be a goal that a user achieved on the website. Once they triggered a goal, we can send them a reminder email.  Obviously, we need another goal when a user finalized the quote, as we don’t want to keep sending them reminders. 


Sitecore Services API

We have engagement plan, now how are we going to trigger a goal? our site is not MVC application, it’s a single page application.  Thus, tracking is not natively enabled. You can use MVC controller, however, why I decided to implement Sitecore services API is because that it has dependency injection enabled, and security enforced.  


EXM email template and custom token

A company branded email template is required. What else? The ultimate goal of the reminder email is to encourage user to finalize the quote by purchasing the service.  Adding a hyperlink i.e. “click here to complete your purchase” seems a good idea for increasing the conversion rate.  Thus, we will need quote no. which will be a custom token.


Solution

Cool, now we know what business wants to achieve and what’s required from technical point of view. 


1. Let’s start with creating goals

  • Make a quote  - when user make a quote on the website.
  • Complete a quote – when user completed the payment


2. I also created custom events

This allows to store custom values i.e. quote Id which can be retrieved with custom token in EXM

  • Make quote event
  • Complete quote event


3. Next, design a user journey

engagement plan


4. Creating Service APIs

There are a few things you will need to consider

  • Session
  • Authentication
  • Dependency Injection


Session

Services API by default doesn’t support session. most likely you will get Analytics.Tracking is null error.  Thus,  you will need to add session handler to your router.

image


Authentication

The good news is you can leverage Sitecore built-in Services API authentication for your custom controller.  you can find more details on how to authenticate your user here.  I would suggest to create specific user for your application.


Dependency Injection

Dependency injection allows you to loose coupling your code. Rather than instantiating objects directly in the code, often classes will declare their dependencies through constructor.    Sitecore services API allows you configure your injection in configuration. you can find more details here.

<configuration>
    <sitecore>
        <services>
            <register serviceType="IMyService, MyAbstraction.Assembly" implementationType="MyServiceImplementation, MyImplementation.Assembly" />
            <register serviceType="MyServiceBase, MyAbstraction.Assembly" implementationType="MyServiceBaseImplementation, MyImplementation.Assembly" />
        </services>
    </sitecore>
</configuration>


Implement Triggering a goal

Cool, by now if you are following the above steps you should have your API up and running with authentication enabled.  next is to create action for triggering the goal.


Identify contact

In my case, I need to identify the contact and update their information. IdentifyAs is the method I’m using. This basically tells sitecore that If it doesn’t exist then creating a new contact, otherwise makes it as known contact.

image


update contact

After contact is created, next is to update the contact details i.e. addressList,

For updating contact, I’m using xConnect Client API.  Sitecore xConnect client API allows trusted clients to create, read, update, and search contacts and interactions over HTTPs.  you can find more details here.


Don’t forget to extend the facets you want to update, as by default, sitecore doesn’t return most of the facets. Here is an example of extending facets.

image


triggering goal

It is a bit misleading about triggering a goal in Sitecore documentation. It states to register a goal for triggering it. Unfortunately, it won’t work with API, as it doesn’t have page context.

var goalId = Guid.NewGuid(); // ID of goal
var goalDefinition = Sitecore.Analytics.Tracker.MarketingDefinitions.Goals[goalId];

Sitecore.Analytics.Tracker.Current.CurrentPage.RegisterGoal(goalDefinition);

Instead, I’ll still need to use xConnect Client API. Goal is specific type of an interaction. so you can add an interaction with a type of xConnect Goal

image

Once you added the goal, you are able to validate in the experience profile as shown below.

image


Awesome, by now we have our goal triggered. we can start configure our engagement plan.  based on the business requirements,  I have created 3 reminders as shown below. 

When users trigger “make a quote” goal, they will be engaged into the campaign, during the period, if they never complete their purchase, 3 reminders will be sent to them.


image

Here is my testing results:

I triggered two goals with different quote Id. Since I never completed the purchase, I have received 3 reminders for each of the quote.

image


Summary

Hooray!  Now, the custom API extends Sitecore tracking capabilities to our SPAs and mobile apps.  As you can seen that Sky is the limit for using Sitecore Marketing Automation to achieve your business goals.   I hope you enjoyed this article.

0 Comments

If you are learning AZ-303, and changes are you will encounter the same error when following the Exercise – Create an NVA and virtual machines (unit 5-7) by the time i’m writing this document (11/07/2021).


I have reported this issue with the Exercise, but it might not be fixed anytime soon.  so just in case you need help with completing your Exercise. I tried to document the issue in Exercise, and the solution how you can resolve them.

 image

What’s the issue

The requirement is to create vnent with 3 subnets

  • 10.0.0.0/24
  • 10.0.1.0/24
  • 10.0.2.0/24

image


in Unit 5 of 7 , it provides the code as below for creating the 1st VM in subnet dmzsubnet.  The problem with the below command is it doesn’t specify the subnet address prefix, therefor by default, it will be 10.0.0.24.  You won’t yet get any error at this stage, as it’s the first subnet. Although it’s already not matching the design.

image

You will then get an error when you are following the Exercise along the way in Unit 6 of 7 with below code.  you can’t create subnet with conflict address.

image

What’s the Solution

Adding  “--subnet-address-prefix” when you create VMs. There are more optional parameters for creating VM you can find here.

here is the example code you can use

az vm create \
     --resource-group learn-4bd2e66c-7759-446c-9a49-071b27237a7f \
     --name public \
     --vnet-name vnet \
     --subnet publicsubnet \
     --image UbuntuLTS \
     --admin-username azureuser \
     --no-wait \
     --custom-data cloud-init.txt \
     --subnet-address-prefix 10.0.2.0/24 \
     --admin-password <changeme123>